Choose your identity provider for portal-only customers
You can connect one identity provider with Jira Service Management to configure single sign-on or/and SCIM provisioning for portal-only customers when you subscribe to Atlassian Guard Standard.
We create a directory for the identity provider you choose. When you add your identity provider to Jira Service Management, you’re ready to start configuring single sign-on or customer provisioning.
Who can do this? |
Available identity providers
You can use the identity provider of your choice, but some capabilities are only available with selected identity providers. Learn which identity providers we support
If you use another provider, you can still set up SAML single sign-on or customer provisioning
Which user management experience do you have?
Go to Atlassian Administration. Select your organization if you have more than one. You can identify which user management experience you have by checking where your Users page is located.
We’ll note these changes in the support documentation below.
Centralized | Original |
|---|---|
In Atlassian Administration, Users is located in Directory.  | In Atlassian Administration, Users is located in Apps > 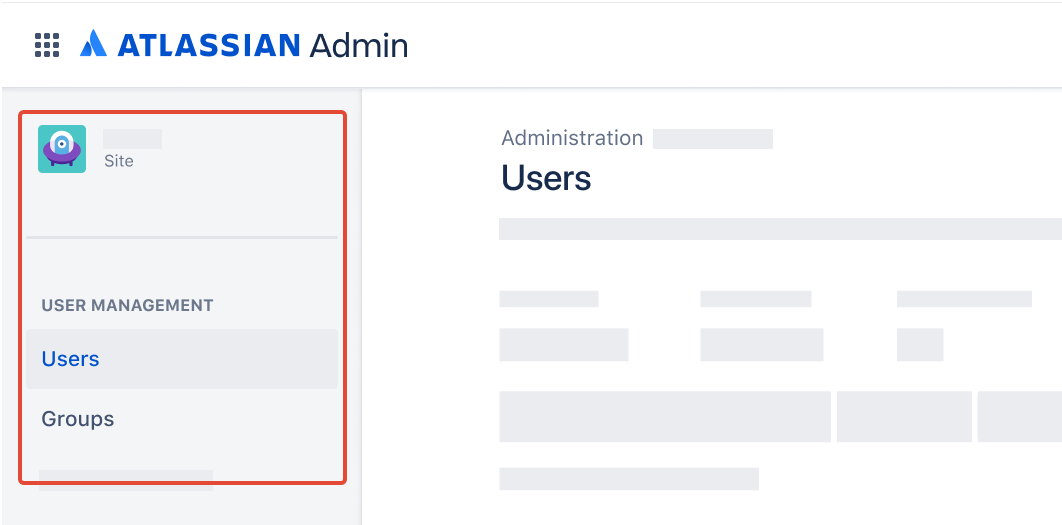 |
Jump to the
Centralized user management content
To choose an identity provider for your portal-only customers:
Go to Atlassian Administration. Select your organization if you have more than one.
Select Apps.
Under Sites and products, select the site your want to connect with the identity provider.
Under Jira Service Management, select Portal-only customers.
Select (more option) > Identity provider.
Choose the identity provider that supports your setup.
Name your identity provider directory.
Follow the prompts to complete the setup.
Original user management content
To choose an identity provider for your portal-only customers:
Go to Atlassian Administration. Select your organization if you have more than one.
Select the site's name and URL to open the Admin for that site, then select Jira Service Management.
Select (more option) > Identity provider.
Choose the identity provider that supports your setup.
Name your identity provider directory.
Follow the prompts to complete the setup.
Was this helpful?